
Content Attributes
Maintaining consistent angles is essential for precise woodworking, particularly when honing cutting tools like chisels and plane irons. Manual angle tools require users to estimate alignment, read small markings, and reset the same position repeatedly. Those steps introduce variation that later affects edge geometry and cutting performance.
A digital measurement method provides a clear reference before the abrasive work begins, giving each sharpening session a consistent starting point. Here are three practical reasons to explain why more woodworkers are changing their approach.
1. Manual Readings Shift Between Sessions
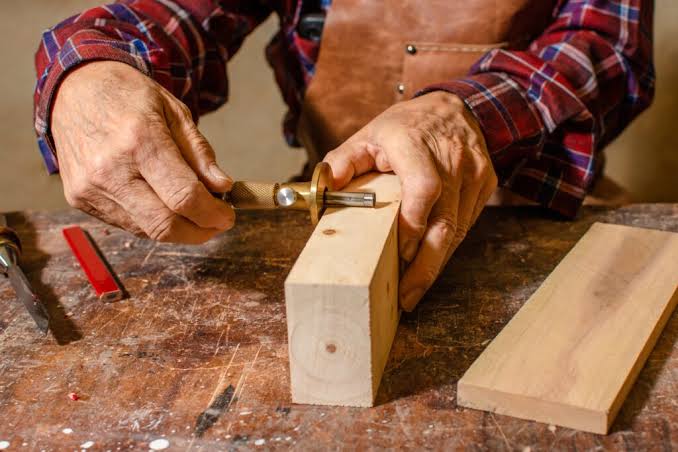
Manual angle tools depend on how a user holds, reads, and positions them. A small change in contact pressure or viewing position can produce a different reading, even when the blade and guide remain unchanged.
A digital angle indicator gives woodworkers a direct numerical reference during setup. The gauge is zeroed on the blade table, then moved to the back of the sharpening stone. Its digital readout shows the approximate sharpening angle, allowing the operator to check the setup before removing metal. This process replaces repeated visual estimates with a straightforward measurement routine.
The gauge has a 0–90° range and ±0.2° accuracy. Those specifications support repeatable setup checks without requiring a printed angle scale or separate calculations. A numerical reading also creates a record that can be compared with previous sessions.
That record helps identify changes in the sharpening system. If the displayed angle differs from an earlier reading, the woodworker can inspect the guide, blade position, or reference surface before starting work. The check takes less time than correcting an uneven bevel after sharpening.
2. Small Errors Change the Finished Edge
A sharpening angle controls the shape and durability of a cutting edge. If the angle changes between sessions, a woodworker removes material from a different part of the bevel. That difference affects how quickly the edge forms and how the tool behaves during a cut.
Manual tools often make small setup differences difficult to spot. The cause could be a guide sitting slightly higher, a reference surface shifting, or a mark being read from the wrong position. Repeated measurements reveal those changes before sharpening begins.
A zero function makes that comparison practical. After the gauge is placed on the blade table, the user presses the zero button to establish the starting reference. The gauge then records the angle change when it moves to the sharpening stone, giving the user one consistent method for checking the setup.
This approach also helps separate setup errors from sharpening technique. A woodworker can first confirm the angle, then focus on pressure, stroke direction, and abrasive condition. Each factor receives a separate check instead of several possible causes being treated as one problem.
3. Digital Tools Reduce Setup Friction
Precision work does not require complicated equipment, but it does require a process that can be repeated without unnecessary steps. A compact gauge keeps the measurement stage brief, helping woodworkers check an angle before each sharpening session.
The device has a backlit LCD screen, which makes the reading easier to see around a workbench. Its magnetic base sticks to a retainer on a sharpening arm or any steel surface. That connection keeps the gauge positioned against the reference point while the user takes the measurement.
The unit measures 58 mm length x 27mm width x 58mm height and weighs about 2.5 oz. It runs on two AAA batteries, uses a two-button function, and includes a protective pouch. Auto shut-off preserves battery life between sessions.
Its compact size also makes storage simple. The protective pouch keeps the gauge with other sharpening equipment, reducing the chance that it gets misplaced between sessions. Two-button operation limits the number of controls a user must remember during setup.
A Practical Setup Routine
A consistent routine requires only a few checks. First, the woodworker places the gauge on the blade table and presses zero. Next, the gauge moves to the back of the sharpening stone. The displayed angle becomes the reference for adjusting the sharpening system.
The measurement remains approximate because the gauge records the relationship between the setup surfaces, rather than the bevel geometry itself. Even so, the same reference method gives each session a clear starting point and makes changes easier to identify.
The user should keep both contact surfaces clean before measuring. Dust, filings, or a raised burr can change the reading by altering the gauge’s position. A quick wipe and a steady placement help produce a more dependable comparison.
After adjustment, the woodworker can repeat the reading before sharpening. When the number remains consistent, the setup is ready for the chosen abrasive process. If the reading does change, the cause can be corrected before any material is removed from the edge.
Conclusion
Manual angle tools still suit occasional checks, but precision woodworkers need repeatable information during regular sharpening. A digital gauge reduces reading errors, records angle changes through a zero function, and fits easily into a compact setup routine.
Before the next sharpening session, establish one reference surface, zero the gauge there, and record the resulting angle. Repeat that sequence for each tool, then compare readings whenever an edge behaves differently during use.
Leave a Reply
You must be logged in to post a comment.