Content Attributes
Screen recorders are a great way to record the content on your PC’s screen to watch it later or upload it to social media channels such as YouTube and more. With screen recorder, you can record online lectures, which may come in handy, amidst the pandemic.
However, there are some steps you need to follow to use a screen recorder for a PC that many people do not know about. Today, we will discuss the primary steps you need to follow to use a screen recorder for a PC and record the valuable content.
Step by step guide to use iTop Screen Recorder for PC
iTop Screen Recorder is free and one of the most popularly used screen recorders for PC you can use. Below-specified are the basic steps you need to follow to use the iTop screen recorder.
Step 1: Download and install the software
First step first, which is you need to download the software. You can download the software by visiting the iTop official website. After downloading the software, make sure to locate the .exe file, a setup file. Double click on the setup file to install the iTop Screen Recorder software.
Step 2: Open the software
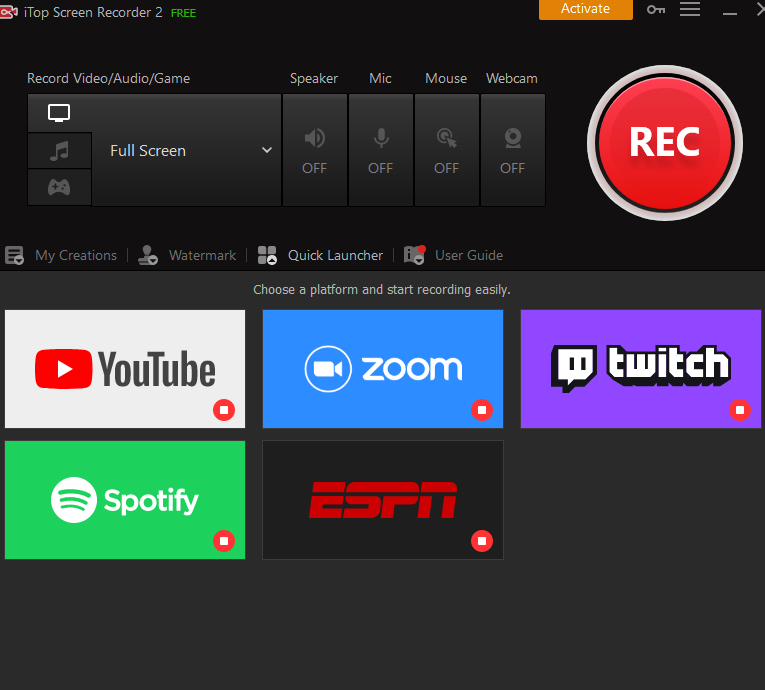
Once installed, make sure to open the iTop Screen Recorder software, then click the Record Screen icon. There are numerous screen options that you can find after clicking the small arrow beside the Full Screen option.
Note that the Full screen option is set by default. Select Region option will allow you to record a specific region on your screen, while the Window option would allow you to record a separate window.
Step 3: Adjust the settings
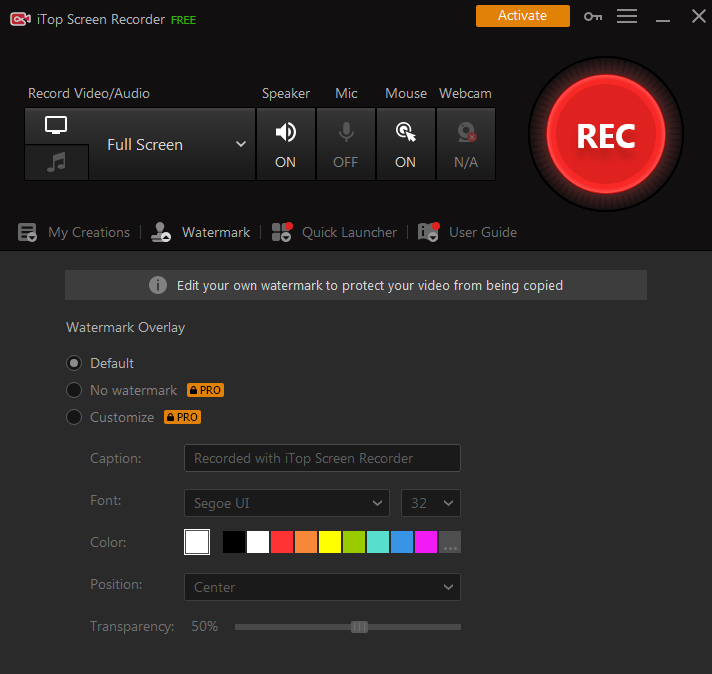
There are numerous settings such as Speaker, Mouse, Mic, and Webcam. If you want to record the sound of your screen as well, click the speaker. If you want to get the cursor to show in your recording, click the mouse option. If you want to record your voice, and webcam video, ensure to click the respective options.
Step 4: Click the record button
To record the content on your screen, click the REC button encircled in red.
Step 5: Finish the recording
To finish your recording, click the Done option. You can also press F9 on your keyboard, as it is the shortcut to stop your screen recording.
How to Record Audio using the iTop Screen Recorder?
Step 1: Click the melody icon
To record the audio and the video on your screen or that of a webcam, click the music icon and adjust the volume level. Then click the REC button.
Step 2: Close the recording
Click the Done button, a square red icon, or F8 to complete the audio recording.
You can also record games while playing them using iTop Screen Recorder. To do this, click the Gamepad icon below the music icon, and adjust settings as specified above.
Make sure to open the game before clicking on the REC button, otherwise, you would not be able to click on the button. After recording your gameplay, click the Done button or F9 as specified above.
Conclusion
It is a short yet informative guide about how you can use the iTop Screen Recorder for a PC. Now start using the recording tool for free to capture your screen, webcam or sounds easily on your Windows PC.