Content Attributes
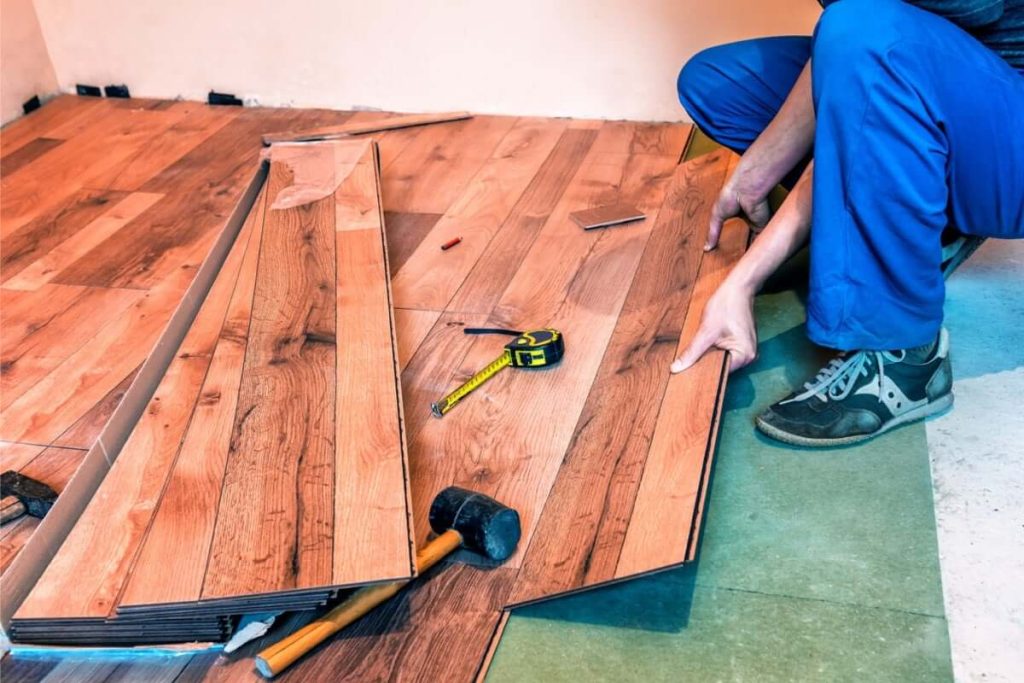
DIY flooring installation is a popular trend that involves homeowners installing flooring in their homes themselves, rather than hiring a professional. This can be a cost-effective way to upgrade your home and add value to your property. In this blog, we’ll explore what DIY flooring installation is and why it’s a great option for homeowners.
What is DIY Flooring Installation?
DIY flooring installation refers to the process of homeowners installing flooring in their homes themselves, without the help of a professional. This can involve a range of flooring materials, including hardwood, laminate, vinyl, tile, and more. DIY flooring installation requires some basic tools and a bit of know-how, but it can be a fun and rewarding way to upgrade your home.
Why Do We Need DIY Flooring Installation?
Cost-Effective
One of the main reasons homeowners choose DIY flooring installation is that it can be more cost-effective than hiring a professional. By installing the flooring yourself, you can save on labor costs and potentially even on the cost of materials. This can be especially beneficial if you’re on a tight budget or looking to make a cost-effective home improvement.
Flexibility
DIY flooring installation also offers greater flexibility when it comes to choosing the right flooring for your home. When you hire a professional, you may be limited to the flooring materials they have experience working with. With DIY installation, you can choose from a wide range of flooring materials and styles to find the perfect fit for your home.
Creative Control
Another benefit of DIY flooring installation is that you have complete creative control over the finished product. You can choose the pattern, layout, and design of your new flooring without having to compromise with a professional installer. This can be especially beneficial if you have a specific vision for your home and want to ensure that every detail is perfect.
Learning Experience
Finally, DIY flooring installation can be a great learning experience. It can be a fun and rewarding way to learn new skills and gain a greater understanding of home improvement projects. By installing your own flooring, you’ll also gain a greater appreciation for the work that goes into home improvement projects and the value they can add to your home.
9 DIY Flooring Installation Tips
Choose the Right Flooring Material
Choosing the right flooring material is essential to achieving the look and durability you want for your home. Some popular flooring materials include hardwood, laminate, vinyl, and tile. Consider factors like durability, style, and cost when making your decision. Hardwood flooring is a classic and timeless option that adds warmth and beauty to any room.
Laminate flooring is an affordable and durable alternative that can mimic the look of hardwood or tile. Vinyl flooring is a versatile option that comes in a variety of styles and is easy to install. Tile flooring is a durable and waterproof option that is perfect for high-traffic areas like bathrooms and kitchens.
Measure Your Space
Accurately measuring your space is crucial to ensuring that you have enough flooring materials. Use a tape measure to determine the length and width of each room, then calculate the total square footage. Make sure to account for any odd angles or alcoves in your space. It’s always a good idea to purchase a little extra material to account for cutting mistakes and future repairs.
Prepare the Subfloor
Before you can install new flooring, you need to prepare the subfloor. This involves removing any existing flooring and making sure the subfloor is level and free of debris. If you’re installing over concrete, you may need to apply a moisture barrier. If your subfloor is uneven, you may need to use the self-leveling compound to create a smooth surface.
Acclimate Your Flooring
If you’re installing hardwood or laminate flooring, it’s important to let the materials acclimate to your home’s environment before installation. This means storing the flooring in the room where it will be installed for several days to allow it to adjust to the temperature and humidity. This will prevent your flooring from expanding or contracting after installation.
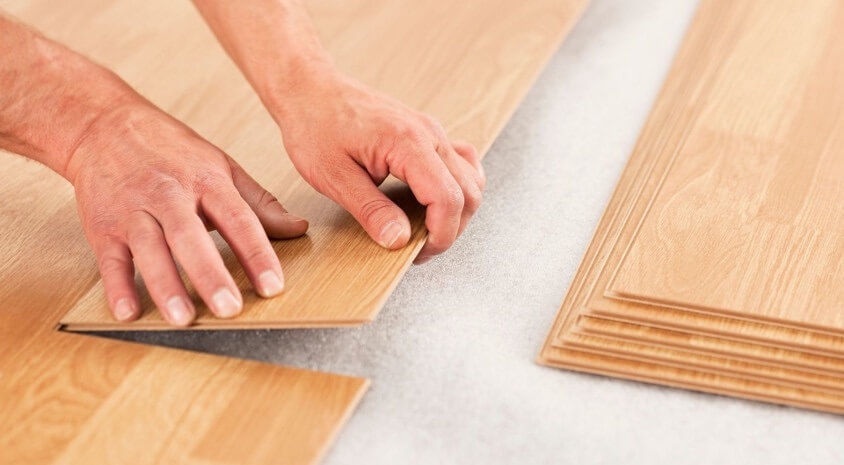
Use the Right Tools
Installing new flooring requires a variety of tools, including a saw, hammer, drill, and spacers. Make sure you have all the necessary tools before you begin your project. If you don’t own the tools you need, consider renting them from a home improvement store. Some other helpful tools include a rubber mallet for tapping planks into place, a jigsaw for cutting curves, and a pull bar for locking planks together.
Start from the Center
When installing new flooring, it’s important to start from the center of the room and work your way outwards. This ensures that the flooring is centered and balanced. Use spacers to maintain the proper distance between planks or tiles. Make sure to lay out your flooring ahead of time to ensure that you are happy with the pattern before you start installing.
Stagger Your Planks or Tiles
To create a more natural-looking floor, it’s important to stagger your planks or tiles. This means starting each new row with a plank or tile that is cut to a different length than the previous row. This creates a more random pattern that looks more like natural wood or stone. Use a chop saw or jigsaw to cut your planks to the correct length.
Use a Rubber Mallet
A rubber mallet is a useful tool for tapping planks or tiles into place. It helps ensure that each piece is snugly fit against its neighbor and prevents gaps from forming. However, be careful not to hit the planks or tiles too hard, as this can damage the material. Use a tapping block or scrap piece of flooring to protect your flooring as you tap it into place.
Cut with Care
Cutting flooring materials can be tricky, especially if you’re using a saw. Make sure to measure twice and cut once to avoid mistakes. Use safety equipment like goggles and a dust mask to protect yourself from debris. If you’re cutting hardwood flooring, use a saw with a fine tooth blade to prevent splintering. If you’re cutting tile, use a wet saw to prevent cracking.
Finish with Trim
Once you’ve installed your new flooring, you’ll want to finish the edges with trim. This helps create a clean and polished look and covers any gaps or imperfections. Baseboards, quarter rounds, and transition strips are all popular options for finishing flooring edges. Make sure to choose trim that matches the style and color of your new flooring.
In conclusion,
Installing new flooring can be a fun and rewarding DIY project. By following these tips and using the right tools and materials, you can achieve professional-looking results in your home. Remember to choose the right flooring material, measure your space accurately, prepare the subfloor, acclimate your flooring, use the right tools, start from the center, stagger your planks or tiles, use a rubber mallet, cut with care, and finish with trim. With a little patience and attention to detail, you can transform the look and feel of your home with a beautiful new floor.